
 Account


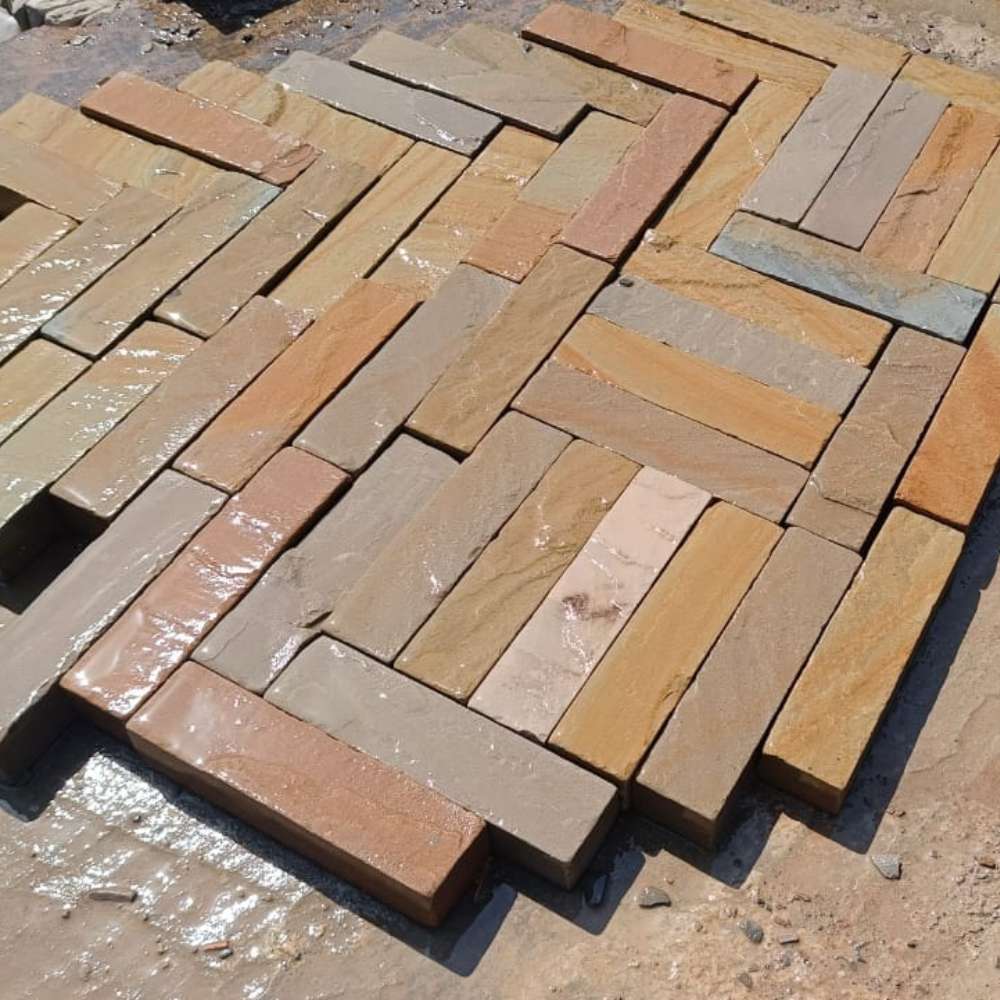
Pros and Cons of Using Fossil Mint Indian Sandstone for Your Patio
08 January 2026


26 November 2025

12 November 2025

30 October 2025

29 September 2025

24 September 2025


21 May 2025

23 January 2025

15 January 2025

14 December 2024

09 September 2024

08 July 2024

05 June 2024

13 May 2024

24 April 2024
Let's have a really honest conversation about garden maintenance. You know that moment when you step outside with your morning coffee, look at your patio, and think "when did this get so grubby?" We've all been there. Your once-gorgeous paving has developed that tired, slightly sad appearance that makes your whole garden feel neglected. Maybe there's green stuff growing in the joints, a few mysterious stains that appeared from nowhere, or that general dull, lifeless look that's miles away from how it looked when it was first laid.
Here's the brilliant news: you don't need to spend your entire weekend scrubbing or shell out for expensive professional cleaning to transform your outdoor space. With just fifteen minutes here and there, you can make a genuinely dramatic difference to how your paving looks. Whether you've got Indian sandstone paving, porcelain, limestone, or granite, these quick patio fixes will have your outdoor living space looking loved and cared for again.
Right, I know this sounds almost embarrassingly simple, but hear me out. A proper sweep is genuinely transformative, and most people just aren't doing it properly. We're not talking about a half-hearted shuffle with a broom while you're thinking about what to make for dinner - we're talking about a focused fifteen-minute session that'll make you wonder why you didn't do this sooner.
For all types of natural stone paving, from Raj Green sandstone to Kandla Grey, regular sweeping prevents dirt from building up in the natural texture of the stone. Particularly with riven finish slabs, those lovely natural undulations can trap leaves, dirt, and general debris, which then breaks down and creates that grimy film that dulls your paving's appearance.
Here's your fifteen-minute sweep routine: start by removing any furniture or plant pots. Use a stiff brush - not a wire brush which can scratch softer stones, but a proper outdoor broom with decent bristles. Work in sections, sweeping diagonally across the slabs to really get into the joints and texture. Pay special attention to areas near walls or under overhangs where debris accumulates. You'll be genuinely shocked at how much brighter your patio paving looks after just this simple step.
For outdoor porcelain tiles and calibrated paving, sweeping is even more important because the smooth surfaces show dirt more obviously. The good news? They're also easier to clean because debris sits on the surface rather than settling into natural stone texture. A quick sweep of your Kandla Grey porcelain or R11 anti-slip porcelain paving weekly means you're preventing that build-up that makes cleaning feel like such a mammoth task.
That green stuff creeping into your joints and spreading across your sandstone paving slabs? It's not adding character - it's making your patio look neglected and, honestly, a bit sad. Algae and moss love British weather almost as much as we complain about it, and if you've got shady areas or spots that don't dry out quickly, you've probably got a green problem.
For a quick fifteen-minute fix, grab a bucket of warm water mixed with a bit of washing-up liquid and a stiff brush. This works brilliantly for light green growth on all types of garden paving. Focus on one section at a time - maybe that sitting area where you notice it most, or the walkway to your back door. Scrub in circular motions, paying special attention to the joints where growth tends to establish itself. Rinse with clean water and you'll see an immediate difference.
For more stubborn growth, particularly on limestone paving or tumbled limestone which can be more susceptible because of their slightly porous nature, you might want to invest in a proper paving cleaner. Apply it according to the instructions, let it do its work while you have your tea, then come back and rinse it off. Fifteen minutes of actual effort for results that last weeks - that's a pretty good return on investment.
Here's a preventative tip that'll save you loads of effort: once you've cleaned your paving, consider using a paving sealer. Yes, application takes longer than fifteen minutes, but it dramatically reduces future cleaning needs. For Indian sandstone paving and limestone, sealing not only protects against stains but also makes it much harder for moss and algae to get a foothold.
When people ask about cleaning sandstone paving or refreshing old paving, they often focus entirely on the slabs themselves and completely ignore the joints. But here's the thing: scruffy, weed-filled, or crumbling joints make even the most beautiful natural stone paving look tired and neglected. Conversely, neat, fresh joints can make slightly weathered paving look intentional and well-maintained.
A quick fifteen-minute joint refresh can work wonders. Start by removing any loose material or weeds from the joints. A proper weeding tool or even an old kitchen knife works brilliantly for this - just work your way along, digging out anything that shouldn't be there. For really stubborn weeds, a quick spray with weed killer a few days before means they come out easily with barely any effort.
Once your joints are clean, you can either brush in fresh jointing sand (for traditional installations) or use a jointing compound for a more permanent solution. Jointing compound is absolutely brilliant for British gardens because it's permeable, it doesn't wash out in heavy rain, and it prevents weeds from reestablishing themselves. You don't need to do your whole patio in one go - tackle the most visible section in your fifteen-minute window, and you'll immediately see how much smarter your patio paving looks.
This works particularly well for 22mm calibrated paving and 18mm calibrated where the joints are consistent and neat. The contrast between fresh joints and clean slabs creates such a sharp, well-maintained look that people genuinely think you've had professionals in.
Let's talk about those mysterious stains that appear on your outdoor porcelain tiles or sandstone slabs. You know the ones - that dark mark where you definitely didn't spill red wine (or did you?), the rust stain from that plant pot that lived there for a summer, or those peculiar marks near the BBQ that you're choosing not to think too hard about.
For porcelain paving, you're in luck because it's incredibly stain-resistant. Most marks will come off with warm soapy water and a bit of scrubbing. If you've got something stubborn on your Kandla Grey porcelain or Raj Green porcelain, try a paste of bicarbonate of soda and water. Apply it to the stain, leave it for ten minutes while you're doing something else, then scrub and rinse. Honestly, porcelain is so low-maintenance that you'll rarely need more than this.
For natural stone paving like Raj Green sandstone or Kota Blue limestone, stain removal needs a bit more care because you don't want to damage the stone or strip any existing sealer. Start with the gentlest option: warm water and a drop of pH-neutral cleaner. Work on one stain at a time - this is perfect for your fifteen-minute sessions because you can tackle one troublesome spot per weekend without it feeling overwhelming.
Oil stains can be tricky on unsealed sandstone or limestone. Try a poultice made from bicarbonate of soda and water - spread it over the stain, cover with cling film, leave it overnight (this bit obviously takes longer than fifteen minutes, but it's not active work!), then brush off and rinse. For organic stains like leaves or berries, a specialist paving cleaner designed for natural stone will sort them out without harsh chemicals that might damage your beautiful sawn finish or smooth honed slabs.
Right, let's talk about the pressure washing guide that everyone wants but nobody wants to admit they need because they've already accidentally stripped some pointing or damaged their paving. A pressure washer can absolutely transform tired-looking paving in minutes - or it can cause damage that's expensive to fix. The key is knowing how to use it properly.
For granite paving slabs, particularly tough finishes like sawn and flamed granite, you can be fairly confident with a pressure washer. Granite is incredibly hard and won't be damaged by water pressure. Your Ash Black granite will look stunning after a quick blast - all that dramatic colour comes back in full force when surface dirt is removed.
For Indian sandstone paving, limestone, and particularly tumbled limestone, you need to be more careful. Use a lower pressure setting and keep the nozzle moving - never concentrate the jet on one spot because you can actually erode the surface of softer stones. Hold the nozzle at least 30cm away from the surface and work in sweeping motions.
Here's your fifteen-minute pressure washing routine: start in the least visible area to get a feel for the right pressure and distance. Work systematically across your patio paving, overlapping slightly to avoid stripes. Be really careful around joints - too much pressure can blast out your jointing material, which creates more work than you started with. If you're working with calibrated paving, the consistent surface makes pressure washing easier because you can maintain the same distance across the whole area.
Absolutely avoid pressure washing outdoor porcelain tiles on their highest setting - it's completely unnecessary because porcelain cleans so easily anyway, and you risk damaging your jointing compound. A medium setting is plenty for R11 anti-slip porcelain paving while still being gentle on the joints.
Here's a quick patio fix that doesn't involve cleaning at all but makes your entire outdoor living space look better maintained: proper lighting. We're not talking about a major electrical installation - we're talking about solar lights, which you can position in under fifteen minutes and which make such a difference to how your garden paving looks.
Think about it: when do you most notice how tired your patio looks? Usually in the evening when you're outside and the lack of proper lighting makes everything look dull and uninviting. Solar lights along the edges of your driveway paving, around the perimeter of your modern patio, or highlighting your bullnose steps completely transforms the atmosphere and actually makes your paving look cleaner and more cared-for.
The warm glow of lighting highlights the natural colour variations in Raj Green sandstone or Kandla Grey, creates lovely shadows with textured riven finish slabs, and makes contemporary porcelain look even more sophisticated. It's amazing how much better maintained everything looks when it's properly illuminated.
Sometimes your patio doesn't look tired because it's dirty - it looks tired because you've been looking at the same arrangement for three years and your brain has filed it under "boring background scenery." A fifteen-minute furniture shuffle can completely refresh your outdoor space without any cleaning at all.
Move that table to a different spot on your Indian sandstone paving. Angle your chairs differently on your limestone terrace. Create a new conversation area. Suddenly, you're seeing your outdoor living space with fresh eyes, and you notice things that need attention - but you also notice how beautiful your natural stone paving actually is when you're not just walking past it on autopilot.
Plus, moving furniture reveals those clean patches underneath where your paving is protected from the elements. It's genuinely motivating - seeing how good your sandstone paving slabs can look makes you want to get the whole area looking that good. It's like finding a fiver in your pocket but for garden maintenance.
Those little niggles you've been ignoring - the wobbly slab in your 22mm calibrated paving, the small chip at the edge of your porcelain, the slight lip where one slab has settled differently - they all contribute to that general air of "this garden needs attention." Fifteen minutes spent on one small repair can make a surprising difference to how maintained your whole outdoor space feels.
A wobbly slab usually just needs re-bedding. Lift it carefully, add a bit more bedding material or sand, and re-lay it level with its neighbors. One properly stable slab in your patio paving improves the whole area because it's one less thing catching your eye and making everything look neglected. For chipped edges on setts and cobbles or the corners of slabs, you can often fill them with a matching repair compound that becomes nearly invisible once it's weathered a bit.
The thing about quick patio fixes is that they're cumulative. Fifteen minutes this weekend tackling that wobbly spot, fifteen minutes next weekend refreshing the joints in the most visible area, another fifteen minutes the following weekend pressure washing one section - within a month, your entire outdoor living space looks transformed without you ever having sacrificed a whole weekend to the garden maintenance gods.
Here's the real secret to keeping your British garden paving looking good: regular fifteen-minute sessions are infinitely more effective than occasional marathon cleaning sessions. Set a reminder on your phone, make it part of your weekend routine, whatever works for you - but commit to just fifteen minutes a week, and you'll be amazed at the difference.
Week one, do a proper sweep. Week two, check and clean the joints in one section. Week three, tackle any visible stains. Week four, pressure wash a high-traffic area. Rotate through these tasks, and your contemporary garden design stays looking contemporary rather than gradually sliding into "needs doing." Your natural stone paving gets the regular attention it deserves without ever feeling like a massive chore.
And here's the lovely thing about maintaining your paving properly: it actually protects your investment. Whether you've got premium granite, beautiful limestone, classic sandstone, or modern porcelain, regular care means these materials last for decades looking brilliant rather than deteriorating through neglect.
Your outdoor space deserves fifteen minutes a week. You deserve to enjoy a garden that looks cared-for and inviting rather than making you wince every time you look at it. So grab your brush, pick your first quick fix, and watch your patio transform from tired to terrific - fifteen minutes at a time.
Thanks for subscribing!
This email has been registered!


